I'm into the "spray painting" age, are you? Once you see the transformations I've done you just might want to join in!
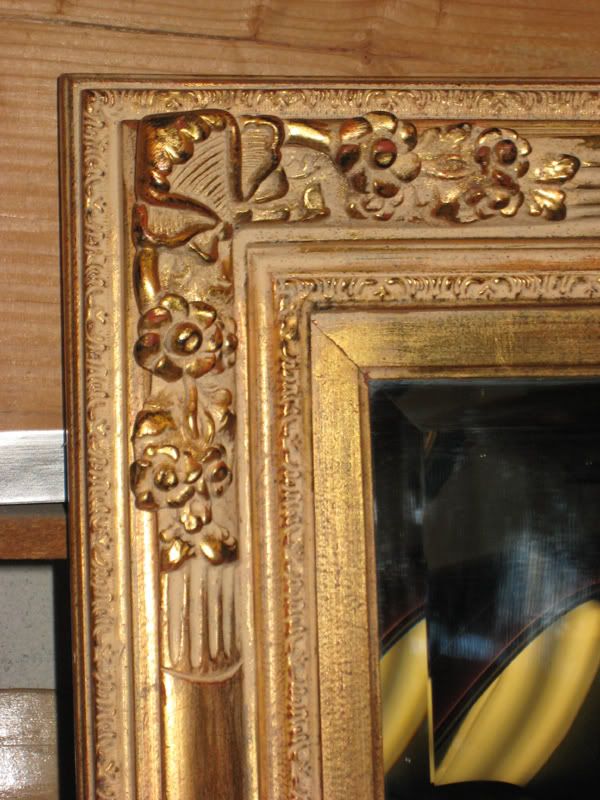
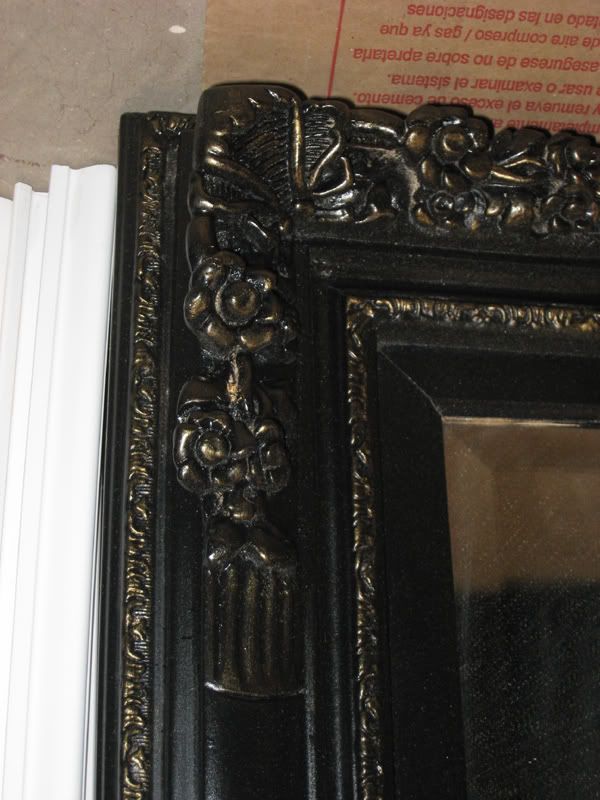
First there's this 4ft by 6 ft-ish mirror that I found on Craigslist (shocker, I know) for only $85. What was once gold and red became black and gold with a little spray paint and then gold "dry brushing." I can hardly wait to hang it on the wall in my front room!
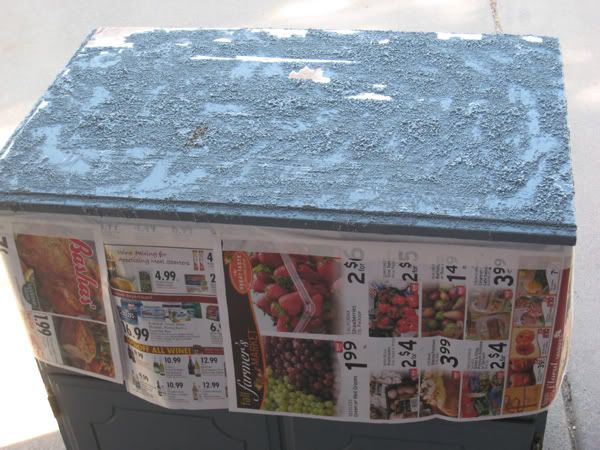
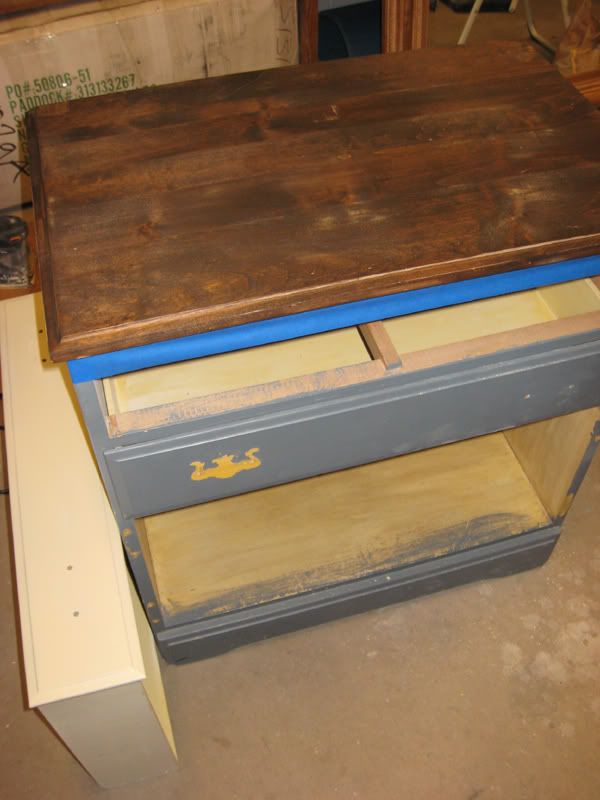
Then there's this little dresser that my mother-in-law gave us (which was given to her by another friend). Anyway, it came to us in a county blue. My original plan was to spray paint it black and change the hardware, but then I saw a refinishing project on 320 Sycamore and I just had to try it out. So I used paint stripper to get off all the layers of paint on the top part of the dresser - it just bubbles right up and wipes off! The only problem was that the original finish was not just normal latex/oil paint so the stripper wouldn't take it off so I resorted to sanding which took more time, but still effective.
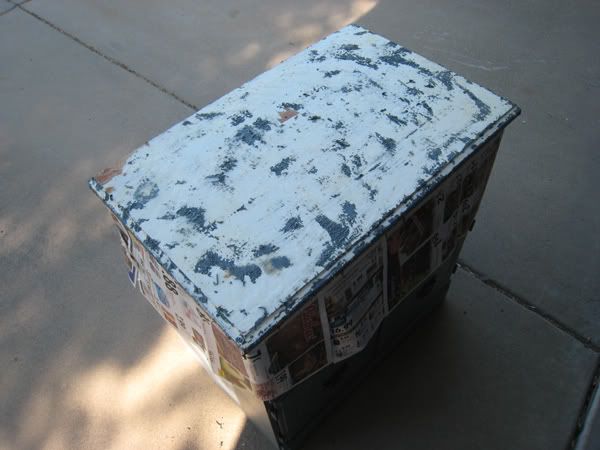
After getting off all the paint from the top, I taped off the sides and applied a few coats of Dark Walnut stain.
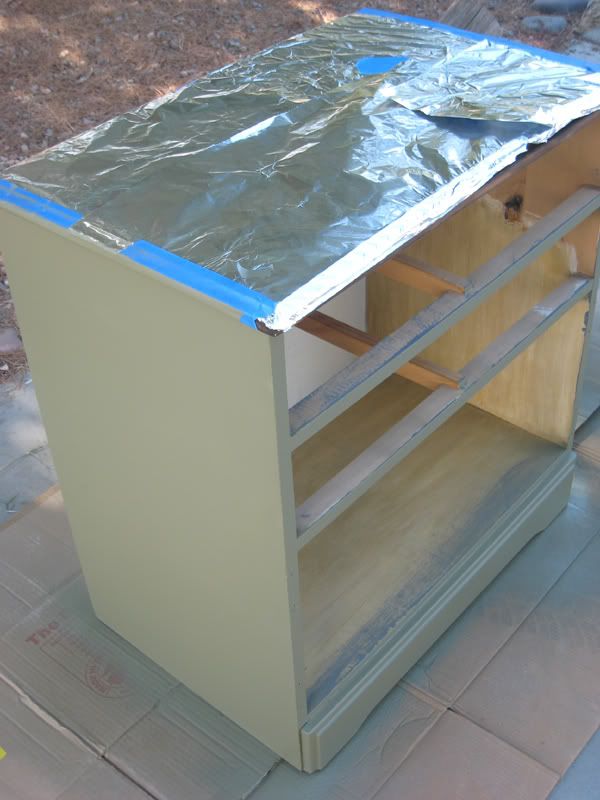
I had decided to spray paint the sides cream initially but after painting it cream, it wasn't achieving the look I wanted. It was too light. So back to Home Depot (that's the store we go to most often now; sometimes multiple times a day). This time I came back with an Oregano green. Much better!
I wanted to highlight (or darklight :) the details on the door. So I tried to q-tip some stain in the grooves of the doors, but of course it blurbed everywhere. When I tried to wipe it off I couldn't wipe it off clean. Lucky for me I unexpectedly liked the look of the stain distressed on there so I did it to all of the green surface. I LOVE IT! The final step is adding a polyurethane coat to the top to make it look more finished and more durable... I haven't got that far yet, but I hope to soon. The weather is so favorable to doing these re-vamping projects!
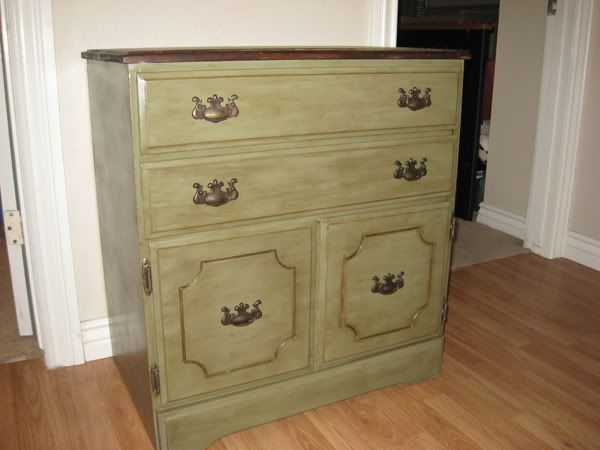
Go breathe new life into some furniture that you're not crazy over anymore. With a fresh coat of paint you can get the look of FAB with something that was quite DRAB!